

Update a job
Included with every subscription
Add the lender and the borrower to the job you created, record the inspection and the value, and move the job to the next status.
Before you start
- Your role needs Update valuations. Without it the job form opens read-only, with a Read only chip in its title. To change other people's jobs, it also needs Edit other users' valuations. If you do not have them, Set up users shows how an administrator gives them to you.
- Open the job you created in Create a job. Click its card in the column view, or its row in the table.
The job form
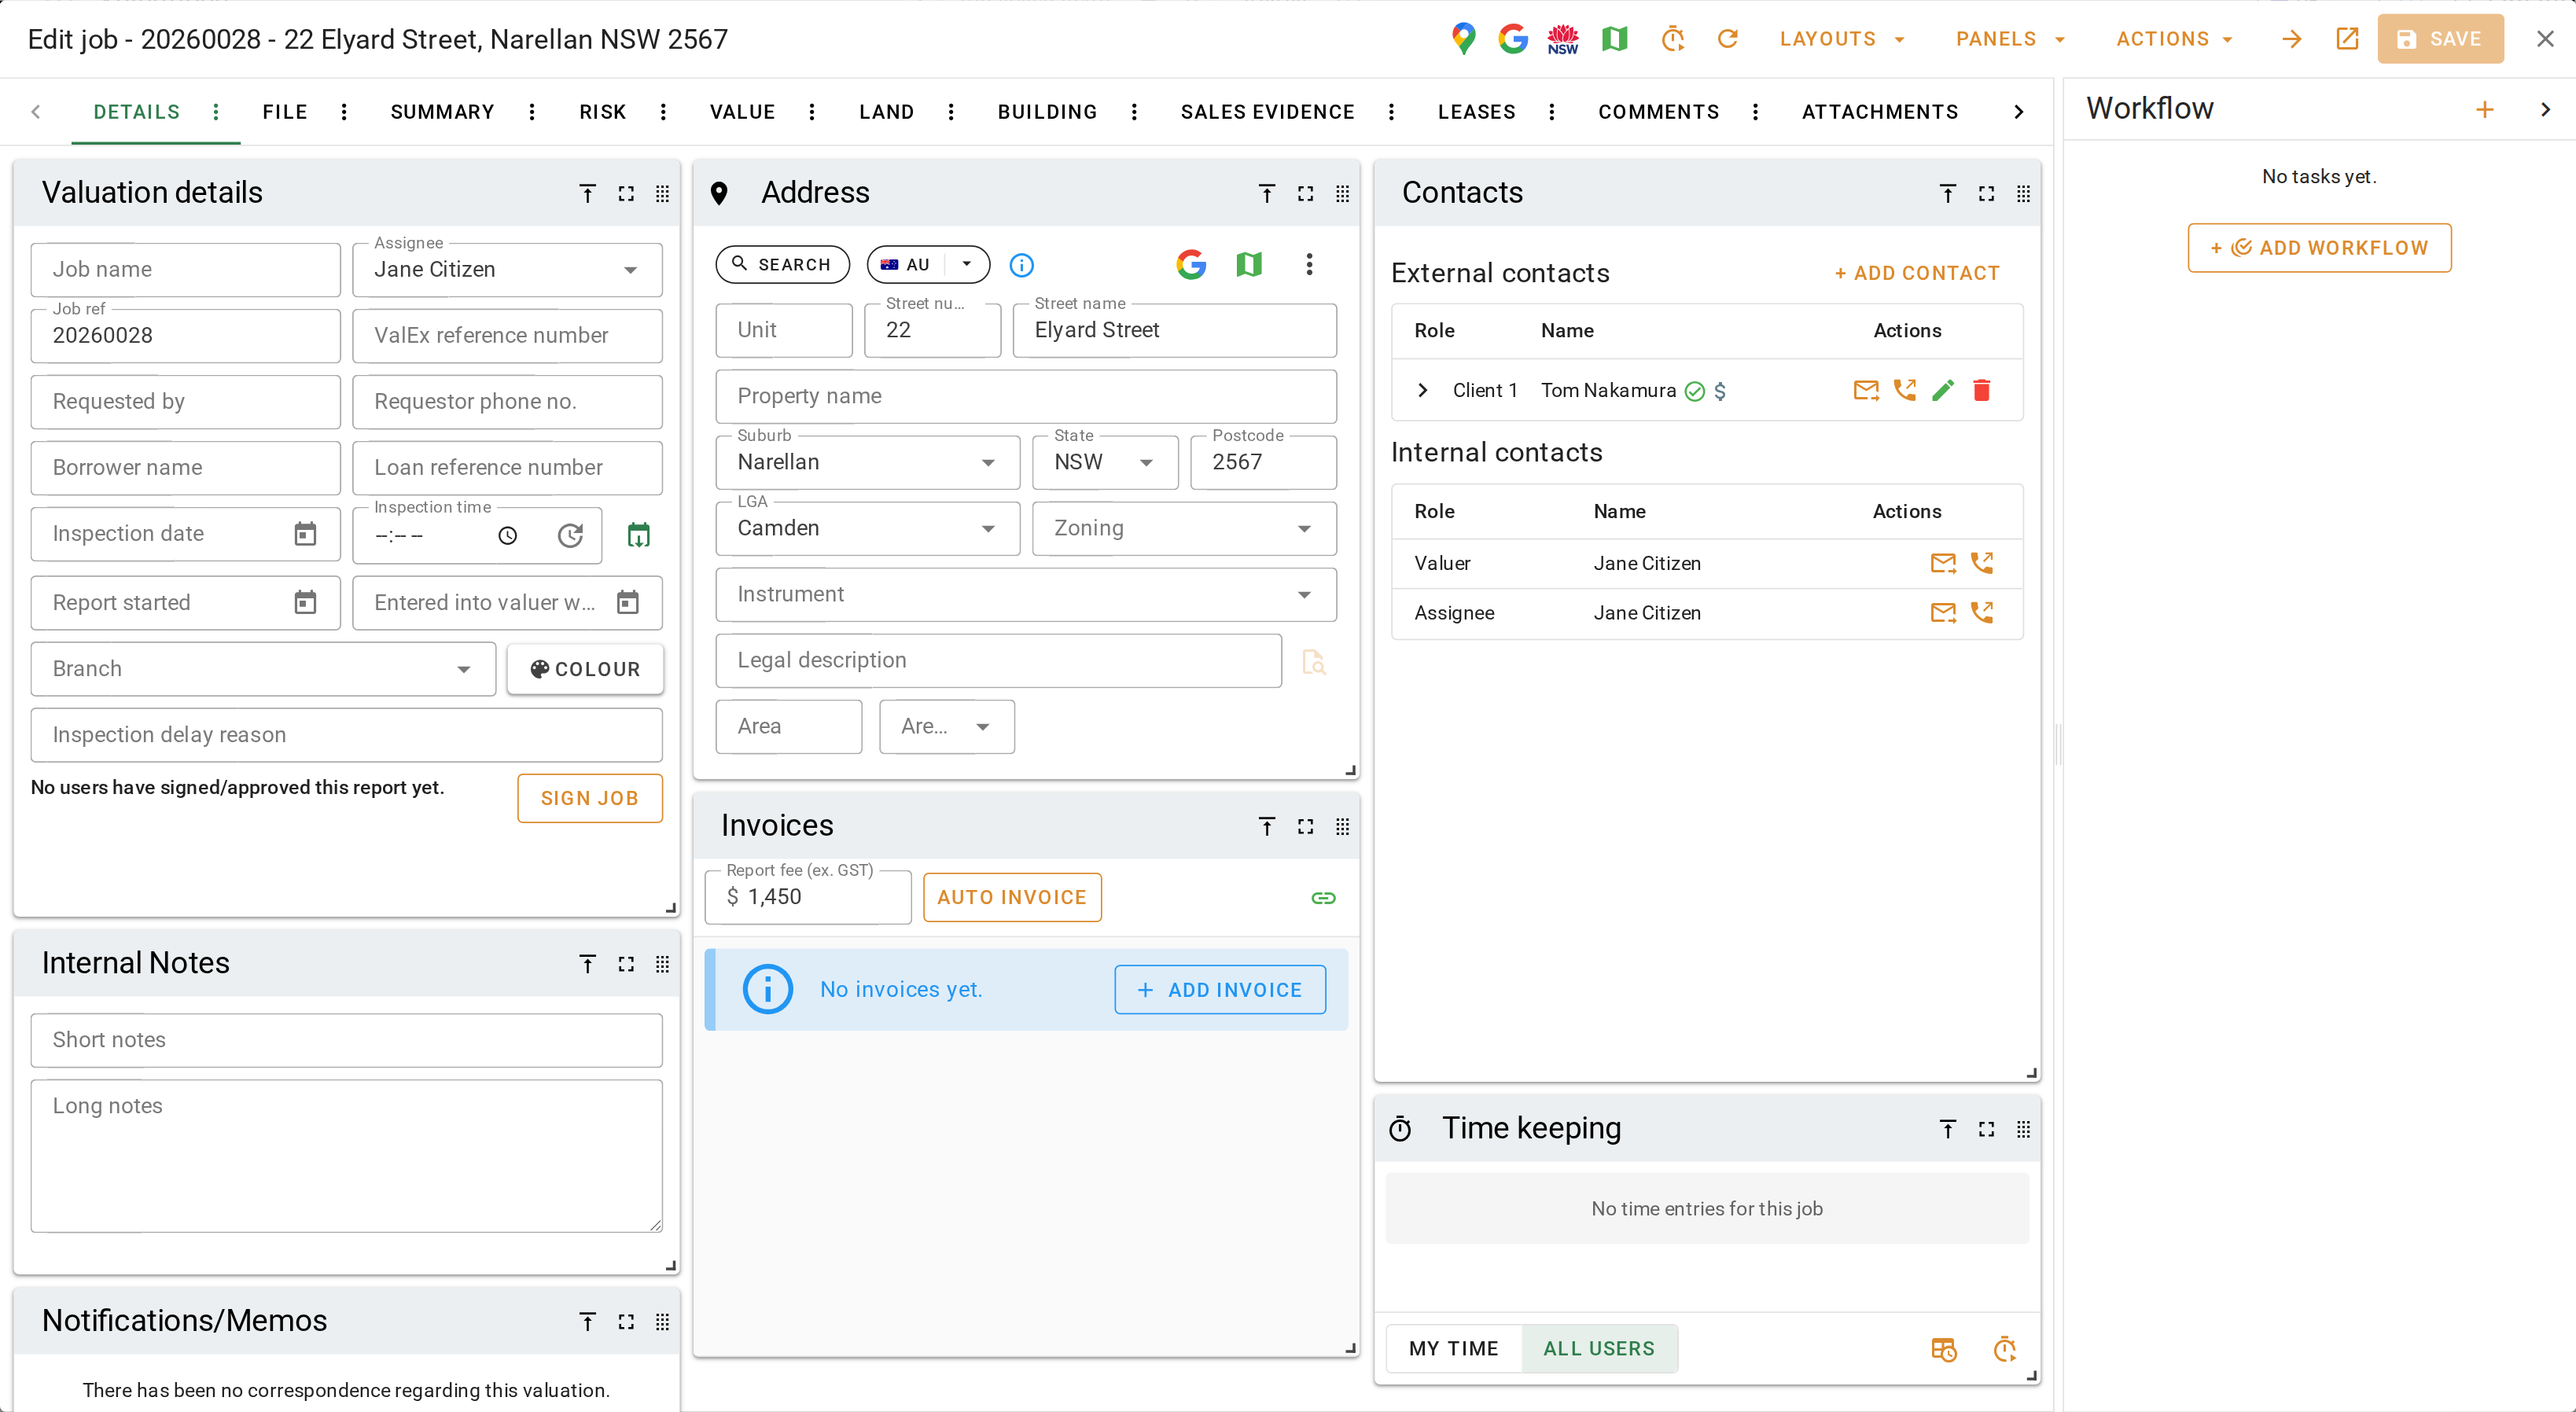
- The tabs across the top group the job's panels.
- Details holds who, where and the fee.
- File holds the valuer, the dates and the kind of valuation.
- Value, Land and Building hold the valuation itself.
- Sales Evidence and Leases hold the evidence.
- Report holds the report.
- Attachments, Other jobs and Event log hold the job's files and history.
- Actions in the header holds what you do to the whole job. Preview or download the report, print a job summary, import data from another job, send an email, and sign off on the job.
- Save is in the header, or press Alt+S. It is only enabled when there is something to save. Invoices and uploaded reports save themselves the moment you change them. Adding, doing, skipping or cancelling a task, or creating a new contact with + New contact, saves the whole job, including any changes you have not saved yet. Everything else waits for Save.
- The panel on the right is the workflow panel, with the job's tasks. See Run a workflow on a job.
- If you close the job form with unsaved changes, VOW asks whether to Save and close, Discard changes or Continue editing.
Add the lender and the borrower
- On the Details tab under Contacts, click + Add contact. Search for the lender under Contact name or email, or click + New contact and enter them.
- Click the button on the lender and tick Lender and Bill to. Lender puts their reference into the job's loan reference, and Bill to addresses the invoice to them.
- Enter their reference under Client job reference and click Done.
- Add the borrower the same way and tick Borrower. The borrower's name goes onto the report.
- Click Save.
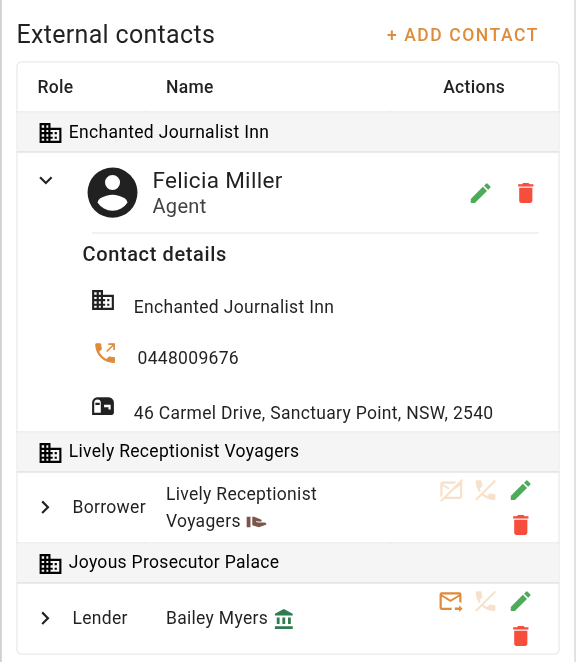
Adding the lender and the borrower
Instructing party, Lender, Borrower, Access contact and Tenant are each held by one contact at a time. Ticking one on a contact takes it off whoever had it. Each one fills a matching field on the job.
Record the inspection and the valuation
- On the Details tab under Valuation details, enter the Inspection date and Inspection time. Both appear on the report.
- On the File tab under Valuation information, enter the Valuation date, the date the valuation is made as at.
- Enter the Valuation. It is the same figure as Market value on the Value tab. Changing either one changes the other, along with the value in words.
- Click Save.
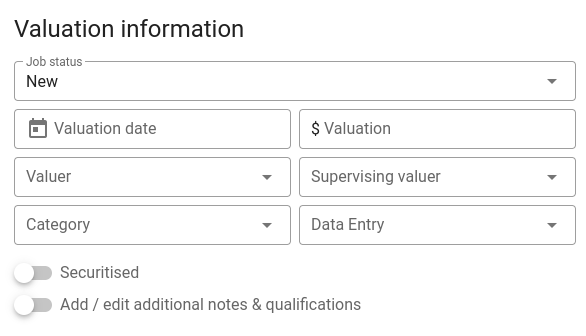
Recording the inspection and the valuation
Move the job to the next status
- In the column view, drag the job's card from New to Pending inspection. The status is saved as soon as the card lands.
- Or, in the job form, choose the status under Job status on the File tab and click Save.
Moving a job to the next status
What you should see
The job's card is in the Pending inspection column. Open it and Contacts lists the lender and the borrower with their flags beside their names. Valuation information shows the date and the figure you entered.
Next
Run a workflow on a job. For every panel and field, see Working with valuations. For the contact roles and flags, see Contacts panel.