

Job attachments and history
Included with every subscription
Before you start
- Attaching files needs Attach documents to valuations and Upload files to the system. Reading the event log needs View event logs. If you do not have them, Set up users shows how an administrator gives them to you.
- Open the job from Send an email from a job, and have a file to attach.
Attach files to a job
- Open the Attachments tab. Drag the files from your computer onto the drop zone at the top, or click Browse and choose them.
- Wait for the uploads to finish and click Done. A newly uploaded file has a grey card until the job is saved.
- Click Save. The cards turn white and the files are on the job.
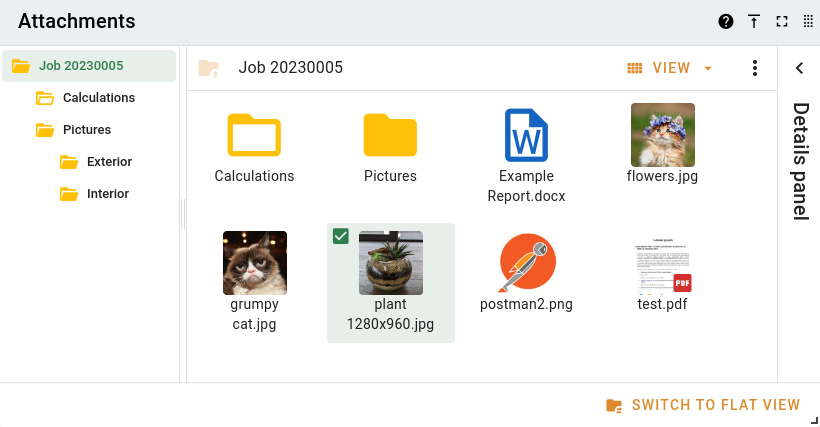
Attaching files to a job
Attachments are saved with the job, when you click Save or when a task saves the job. If you close the job form and discard your changes, the files you uploaded since the last save are discarded too.
Put photos on the report
In the flat view of the Attachments tab, turn on In report for each photo that belongs in the pro forma report, and drag the cards into the order they should appear. A report made from a template takes its photos from the same switch.
The report has its own place on the Report tab and the invoices on the Invoices panel. Do not add them here as well.
Read a job's history
- Open the Event log tab. Every change to the job is listed, newest first, with who made it and when.
- Click an entry to unfold it. The old value is in red and the new value in green.
- Filter by event type or by date when the list is long.
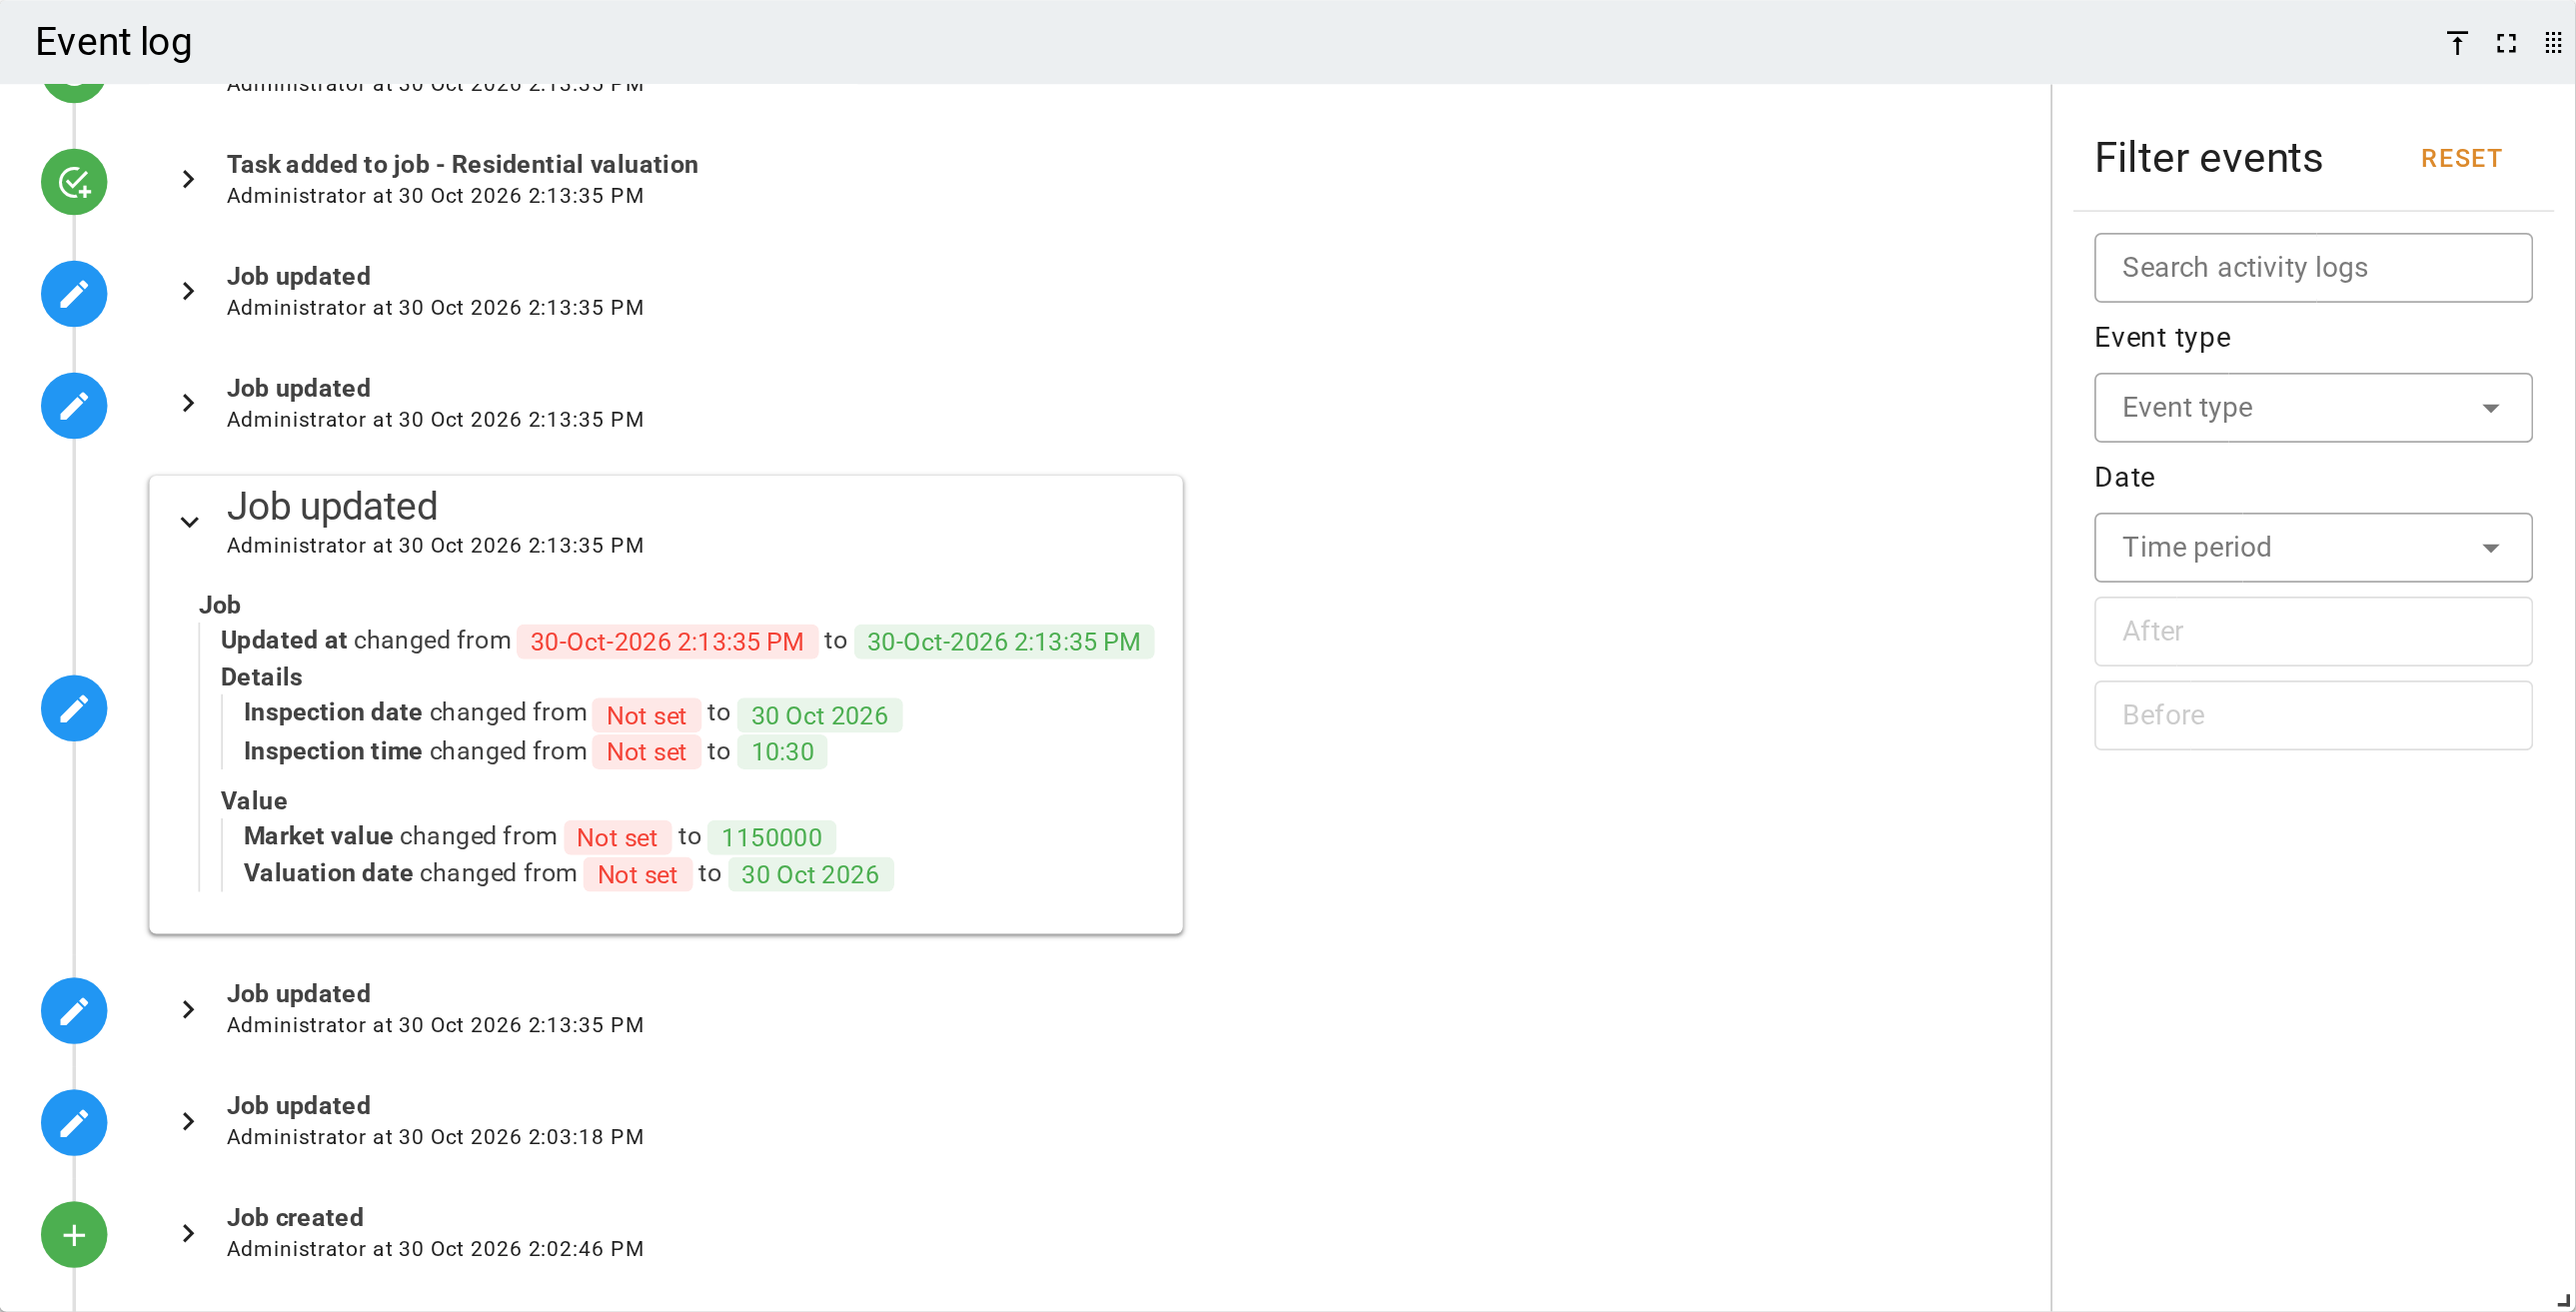
Reading a job's history
What you should see
The Attachments tab lists the files with white cards and the photos marked In report in the order you set. The Event log has entries for the upload and the save with your name on them.
Next
Complete a job. Folders, tags, renaming, moving and editing files are covered in Working with attachments, and every control is in Managing attachments.