

Run the time tracking report
Included with Enterprise
The report lists every user's time entries, one row per entry.
Before you start
- Time keeping has to be turned on for your company. Turn on time keeping shows an administrator how.
- Your role needs See the reports menu and View time keeping reports. To see other people's hourly rates and amounts it also needs See how much other users are charging. To change their entries it needs Update other users' time entries. If you do not have them, Set up users shows how an administrator gives them to you.
- Open Reporting from the main menu and click View report on the Time tracking card.
Choose the period
The report always opens on the current week.
- Under Time period, pick the range, such as Last Week or This Month. From and Until fill in to match and the table reloads.
- For dates of your own, pick Custom range and set From and Until.
- To list entries before or after a single date, change Date comparator to Before or After and set the Date.
- Type in Search to narrow the rows to a user, a job reference or a word from the description.

Apply a preset
A preset sets the columns, grouping and filters for a common question. It keeps the period you set.
- Click Presets and choose Billable hours by user. The entries fold into one group per person, and each group row totals its Duration and $ Amount.
- Choose Billable hours by client to see the same hours grouped by the client's organisation, or Non-billable hours by user to see the time nobody is charged for.
- Choose Entries not linked to jobs to find time with no linked item. These hours count towards no job, quote or project.
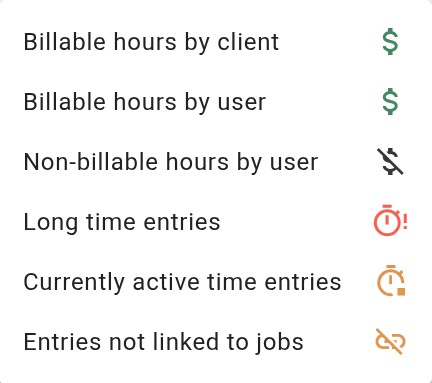
A preset replaces your columns and filters, apart from the date filter. Your own column choices come back the next time you open the report only if you set them after the preset.
Fix an entry from the report
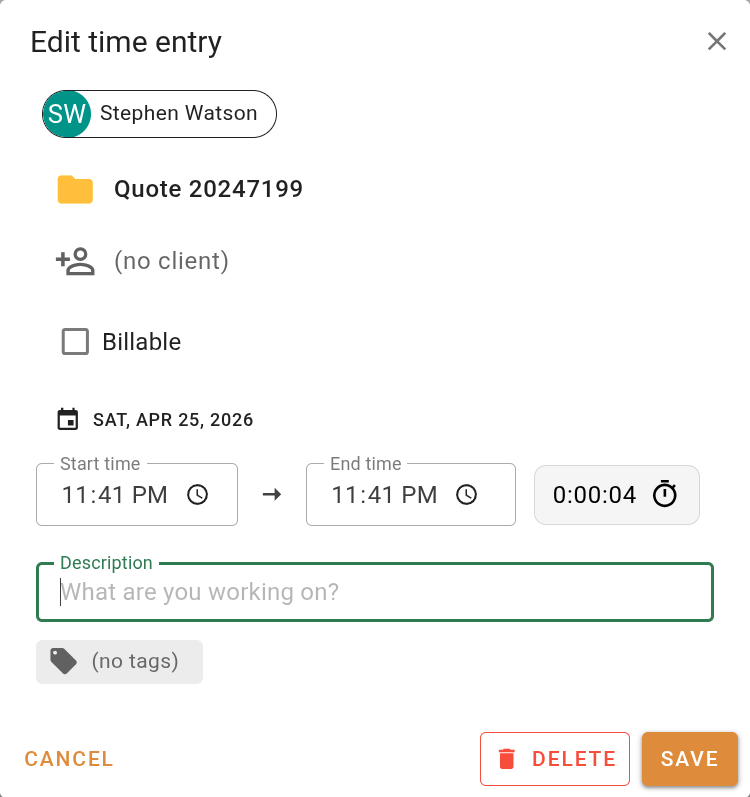
- Double-click the row. The 'Edit time entry' dialog opens, with the entry's user at the top.
- Change the Start time, End time or Description. To move the entry to the right job, project or quote, click the linked item under the user (or (no linked item)), choose the record in the 'Link time entry' dialog and click Link.
- Click Save. The row and the group totals update.
Export the report
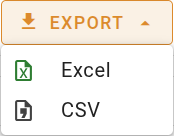
- Click Export and choose Excel or CSV. VOW gathers every entry that matches the period, search and filters, and your browser downloads the file.
- Open the file from your browser's downloads in Excel or another spreadsheet program. It has one row per entry with the columns shown on screen. The grouping is not kept, so total the rows in the spreadsheet. A column the report is grouped by is hidden, so it may be left out of the file. To keep it, tick it in the Columns panel before you export.
What you should see
With Billable hours by user applied, one group row per person shows their billable Duration and $ Amount for the period. Open a group and the entries in it add up to the total.
Next
Go back to Working with reports, or on to the next module in VOW tutorials. For every column and control, see Time tracking report. For how entries are recorded, see Time keeping.