

Create a request
Included with Professional and Enterprise
Type in an instruction that arrived by phone, email or letter, or give VOW the email or file and let it fill the request in. The request goes into the same inbox as requests from your website.
Before you start
- Your role needs Create work requests to start a request and Process requests to save it. If you do not have them, Set up users shows how an administrator gives it to you.
- Reading a request out of an email or a file needs Enable AI request creation turned on under Settings | Requests. An administrator does this after turning on AI features. See Requests settings. Without it, New request opens the form straight away.
- Open Requests from the main menu.
Type a request in
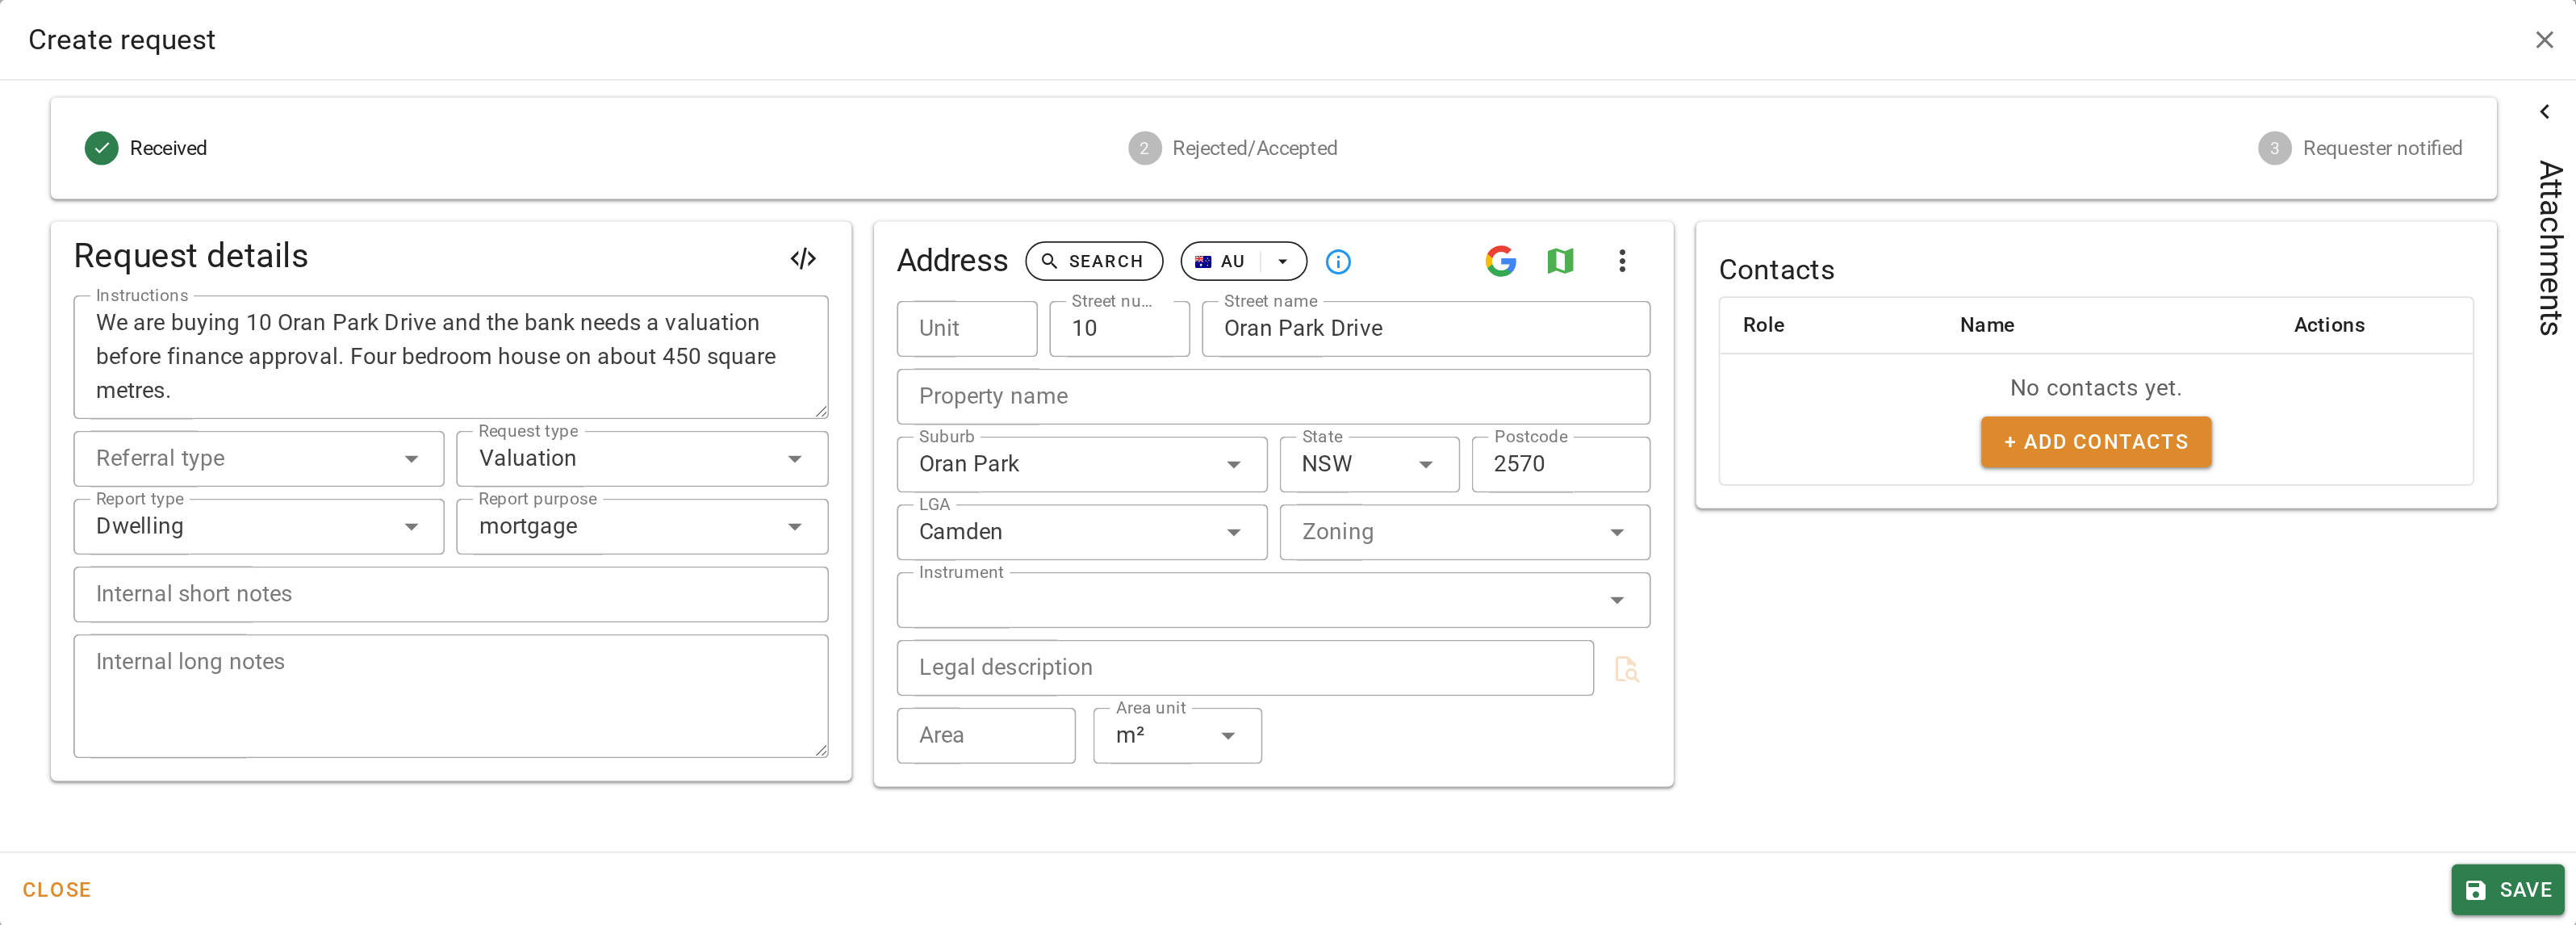
- Click New request. If your company has AI request creation turned on, a dialog asks which kind to make. Click Form entry.
- Under Request details, choose the Request type. Choose Valuation if they have instructed you, or Quote if they want a price first. It decides which wizard opens when the request is accepted.
- Type what the client wants under Instructions, and choose the Report type and Report purpose if you know them. The report type and purpose are copied onto the job or quote. The instructions stay on the request.
- Under Address, click Search, type the property address and pick the match. VOW fills in the address fields, LGA included.
- Under Contacts, click + Add contacts and pick the client. If they are not in VOW yet, click + New contact in the same dialog and enter them.
- Click Save.
A request you type in, one from your website and each request from several dropped files starts as unread. One made from pasted text or a single file is unread only when Mark created requests as unread by default is ticked under Settings | Requests.
Create a request from an email or a file
- Click New request, then AI request.
- Paste the text of the email into the box, or drag the file onto it. One pasted text makes one request. Dropping several files makes one request for each file.
- Wait while VOW reads it. The new request opens with the requester, the address, the instructions and the report details filled in. The original is kept under Raw request data.
- Check the fields against the original, correct anything VOW misread, and click Save.
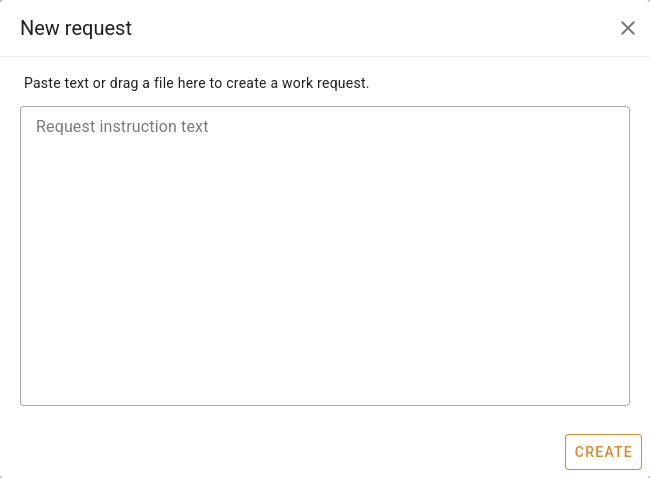
The files must contain text. An email, a PDF, a Word or Excel file all work. A scan or a photo of a letter does not, because VOW cannot read text out of an image.
Drop files straight onto the page
This also needs Enable AI request creation.
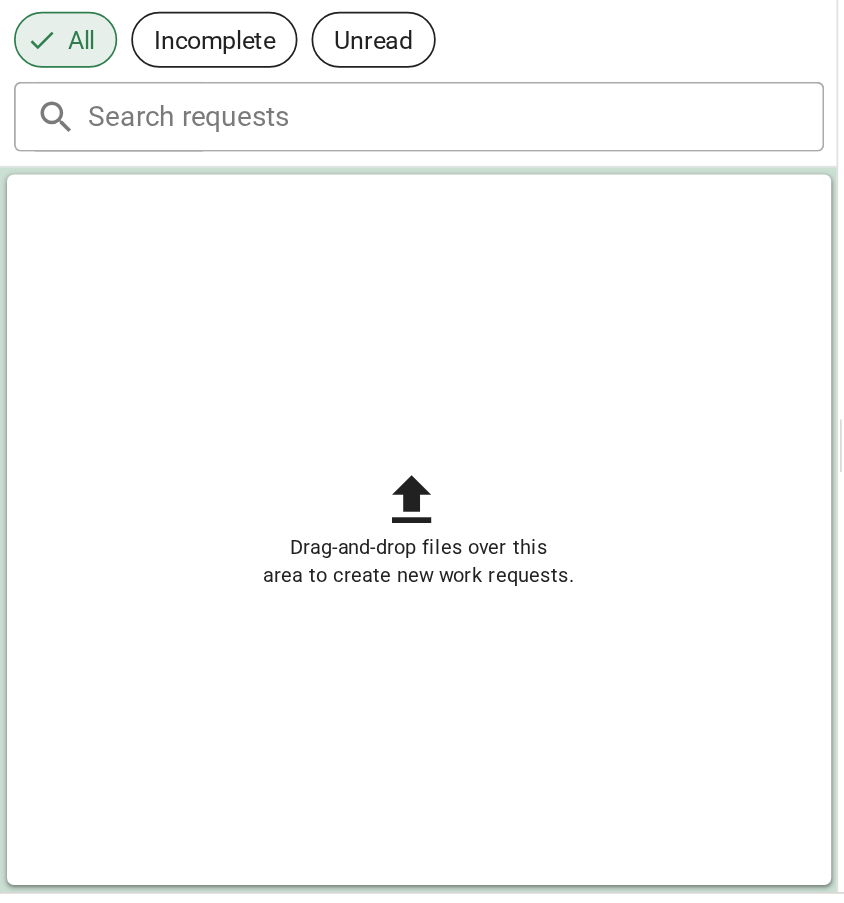
- Drag up to ten files over the request list in the inbox view, or over the table in the table view. The area is shaded and reads Drag-and-drop files over this area to create new work requests.
- Drop the files. Each file becomes a request.
- One file opens its new request straight away. Several files appear as new requests in the list. Check each one against its file, correct anything VOW misread and click Save.
What you should see
The new request is at the top of the inbox with the status Pending. Open it and the banner under Request details says it was created in VOW, or from uploaded files or pasted text. The Raw request data button shows the original.
Next
Accept a request. For every field, see Request editor. For the AI path in detail, see Unstructured request creation.