

Creating a quote
Quotes are created using the New quote wizard, a 3-step dialog that collects the essential information needed to start a quote.
See the Quote wizard reference for a full description of every field.
Opening the wizard
- Navigate to Quotes in the main navigation.
- Click the New quote button in the top-right corner of the quotes table.
The wizard opens as a dialog with three steps: Client details, Address, and Internal details.
You can navigate between steps by clicking the step headers at the top of the dialog, or by using the Back and Next buttons at the bottom.
Step 1 — Client details
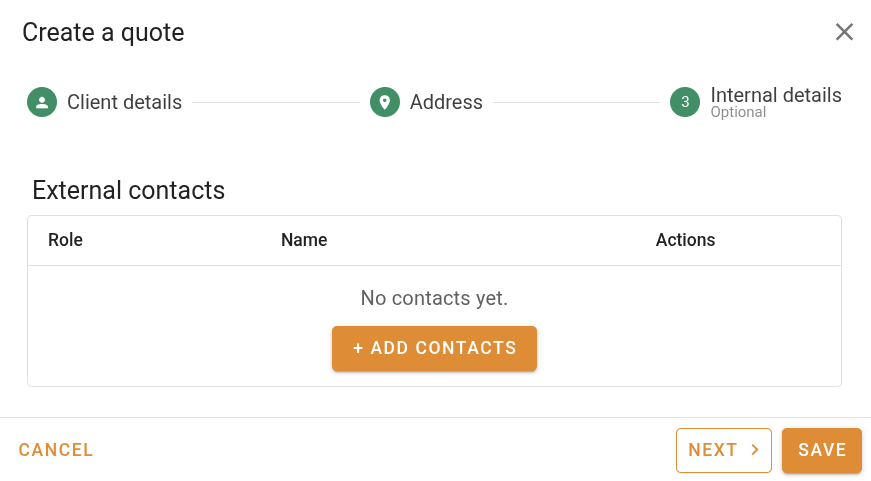
Add at least one client contact for the quote.
- Click Add contact in the contacts panel.
- Search for an existing contact by name or email, or click New contact to create one.
- Select the contact and confirm.
You can add more than one contact. This is useful when the instructing party and the billing contact are different people.
Validation requirements:
- At least one contact is required.
- Every contact must have a name.
- If an email address is entered, it must be valid.
Step 2 — Address
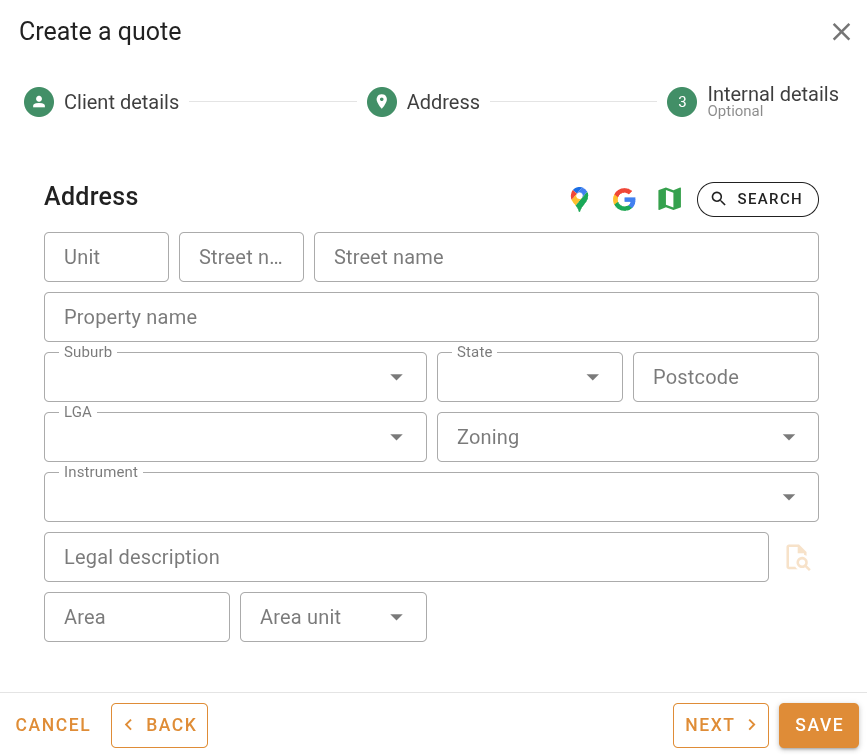
Enter the property address for the quote.
- Click the address search button to look up an address by typing into the search field.
- Select a matching address from the dropdown to auto-fill the address fields.
- If the address cannot be found, enter the address fields manually.
Validation requirements:
- Street name and suburb are required.
- Either a house number or an LGA must be present.
Step 3 — Internal details (optional)
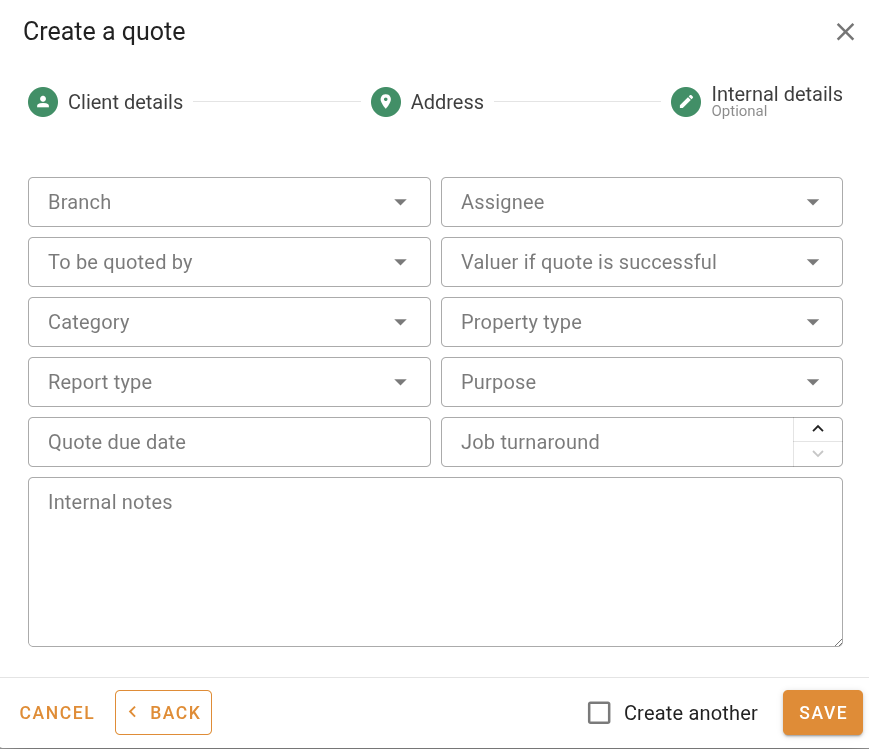
This step is optional. It lets you set internal information before saving.
| Field | Description |
|---|---|
| Branch | The branch associated with this quote. |
| Assignee | The staff member responsible for managing this quote. |
| To be quoted by | The staff member who will price the quote. |
| Valuer if quote is successful | The valuer who would do the job if accepted. |
| Quote due date | When the quote response is due. |
| Job turnaround | The number of business days to complete the job. Used to calculate the job's due date when the quote is accepted. |
| Internal notes | Any internal notes about this quote. |
If your company has default turnaround periods configured, the Quote due date and Job turnaround fields will be pre-filled automatically. Selecting a report type may also update the job turnaround.
Saving the quote
Once you have completed at least steps 1 and 2, click Save to create the quote.
The new quote will appear in the quotes table and can be opened for further editing.
After saving, you can open the quote to fill in more details such as the quoted amount, category, property type, and report purpose.
Creating multiple quotes in a row
A Create another checkbox appears in the wizard footer next to the Save button. When ticked, saving the quote immediately resets the wizard back to step 1 so you can enter the next quote without reopening the dialog.
This is useful when processing a batch of enquiries. The checkbox resets to unchecked each time the wizard is closed.
Next steps
- Editing a quote – add more detail to the quote form
- Accepting, rejecting & cancelling — finalise the quote once a response is received