

Working with projects
Projects are collections of valuations under a single banner. They might be collection of valuations for a compulsory acquisition, or someone wanting to get valuations for a set of properties they own.
Projects have a single client associated with them to start with, and they can be given a colour so that you can identify them at a glance in the valuation column or table view. You can assign valuers to the project's jobs in bulk, and you're also able to see a summary of the jobs' invoices from within the project.
Creating a project
Step 1
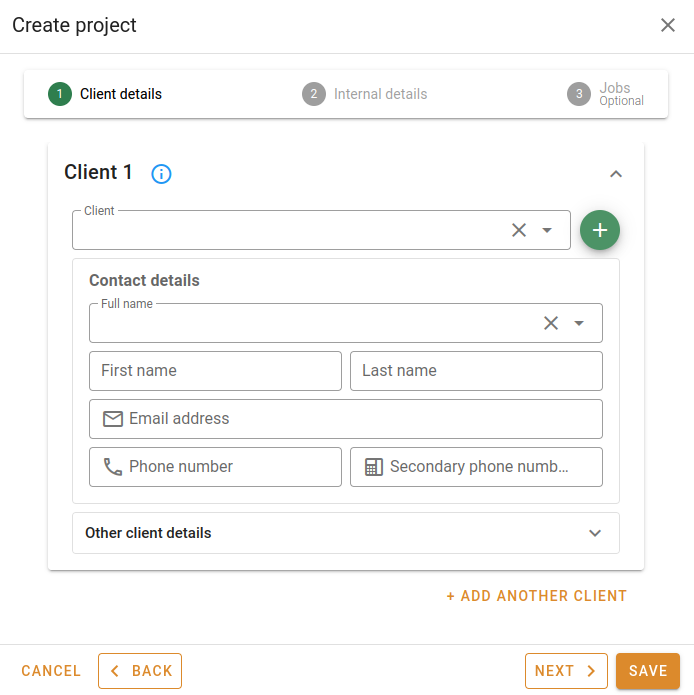
Select a client from the dropdown. Start typing the name of the organisation or the individual to see the clients in the system that match what you've typed. If the client is new, click the
Add client button. See Adding contacts.
Click Next to add more information to the new project.
Click Cancel to forget what you've entered so far.
Step 2
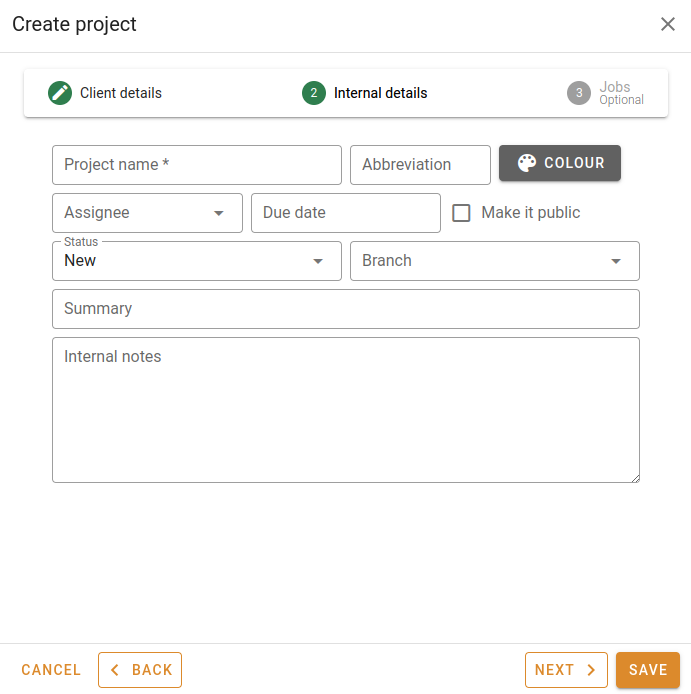
You can enter the following fields:
- The project name (the only required field).
- A project abbreviation. While not required, this will help you identify a project by a couple of letters, and jobs in that project will be tagged with these letters.
- You can nominate a colour for the project and this will be used when displaying any jobs associated with the project.
- The user to whom the project is to be assigned.
- The date at which the project is due to be completed.
- Whether the project is public, and visible to all users.
- The initial status of the project.
- The project's branch.
- A bit of text as the project summary.
- Any initial internal notes relating to the project.
When you are done, you can click the Save button to create the project, or click Next to add more information to the new project.
Click Cancel to forget what you've entered so far, or Back to go back to the previous page.
Step 3
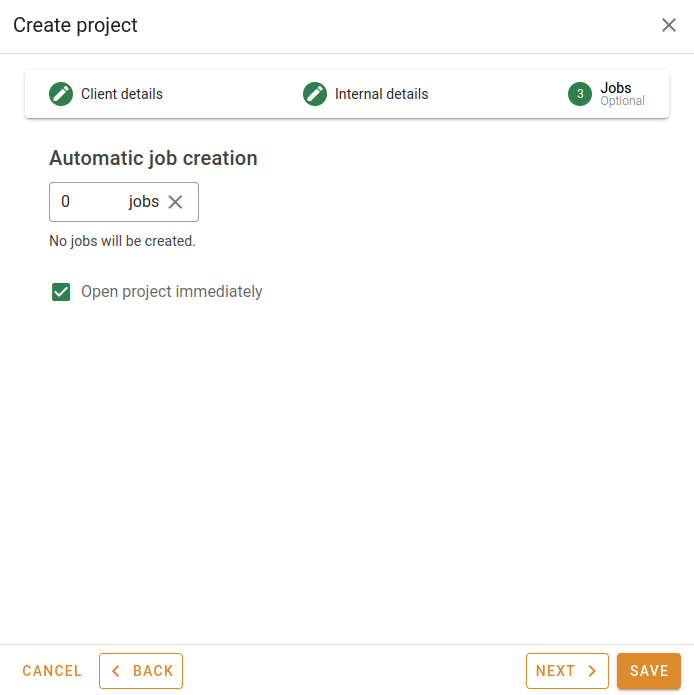
Finally, you can determine the number of jobs you want to be created and attached to this project.
When you are done, you can click the Save button to create the project.
Click Cancel to forget what you've entered so far, or Back to go back to the previous page.
Editing a project
Click on a project in the valuation column view or the valuation table view to edit it. You'll see the following popup:
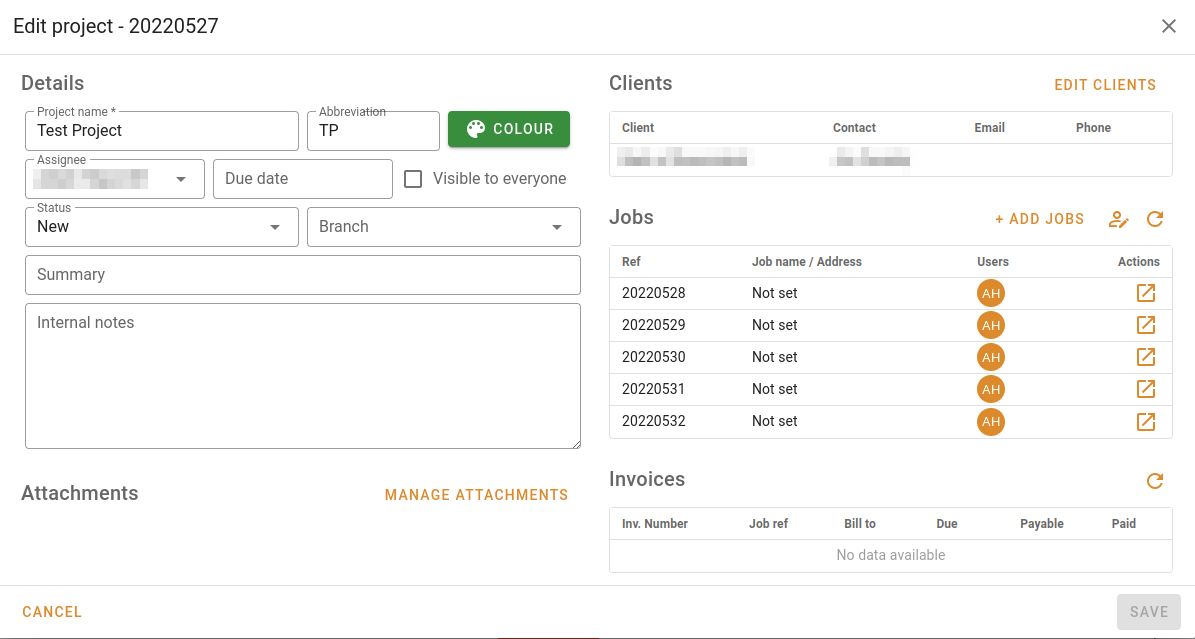
Details
You can update the following fields:
- The project name.
- The project abbreviation.
- The project colour.
- The assignee.
- The date at which the project is due to be completed.
- Whether the project is public, and visible to all users.
- The current status of the project.
- The project's branch.
- The project summary.
- Any internal notes relating to the project.
Attachments
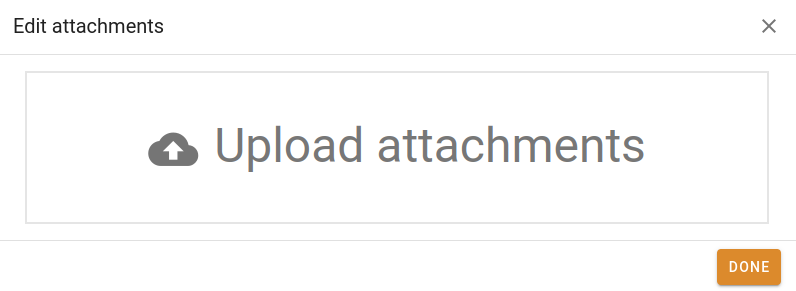
Any attachments associated with the project will be displayed below the entry fields. You can manage the attachments associated with the project. Click the Manage attachments button to open this popup:
Clients
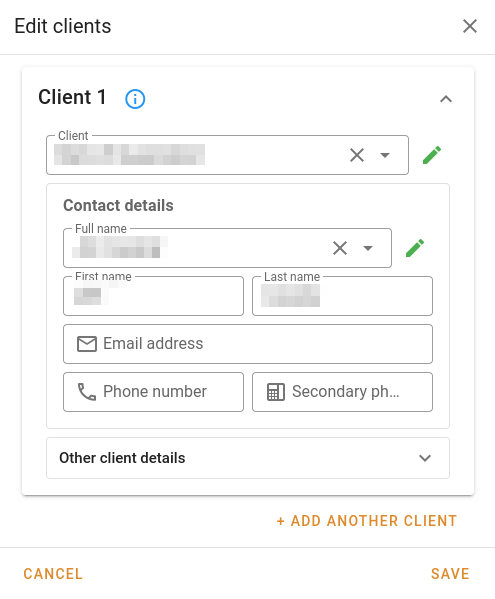
While the project is created with a client, you can alter this further down the track. Click the Edit clients button to see this popup:
Jobs
In this part of the project editor, you can:
- add new jobs to the project
- associate valuers with the project's jobs
- refresh the job list
- view any job in a new tab
Add jobs
Click the Add jobs button to see this popup:
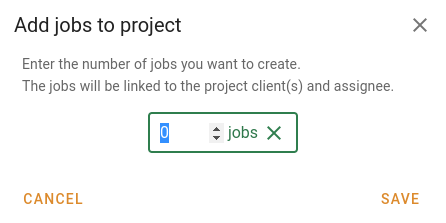
Enter the number of jobs you want to add to the project and then click Save when you're done. Otherwise, click Cancel to close the popup without making changes.
Edit valuers
Click the Edit valuers![]() button to see this popup:
button to see this popup:
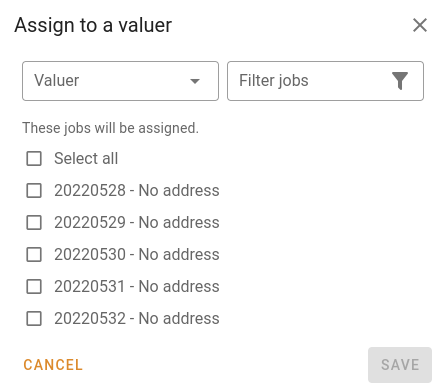
Choose a valuer from the dropdown list, and then tick the jobs to which you want to assign the valuer. Click Save when you're done, or Cancel to close the popup without keeping changes.
Invoices
This table shows you a list of the invoices associated with the project. The table includes a total for the amount payable, and tick boxes next to invoices that have been paid in full.